9 Delicious Gluten Free and Dairy Free Recipes You’ll Love
9 Delicious Gluten Free and Dairy Free Recipes You’ll Love
Cooking gluten-free and dairy-free doesn't mean you have to sacrifice flavor! This collection of recipes proves that tasty meals can be made without these ingredients, ensuring that everyone at the table can enjoy delicious food. Get ready to whip up meals that are satisfying and scrumptious, proving that dietary restrictions can still be fun and fulfilling.
Deliciously Sweet Classic Peach Cobbler Without Dairy
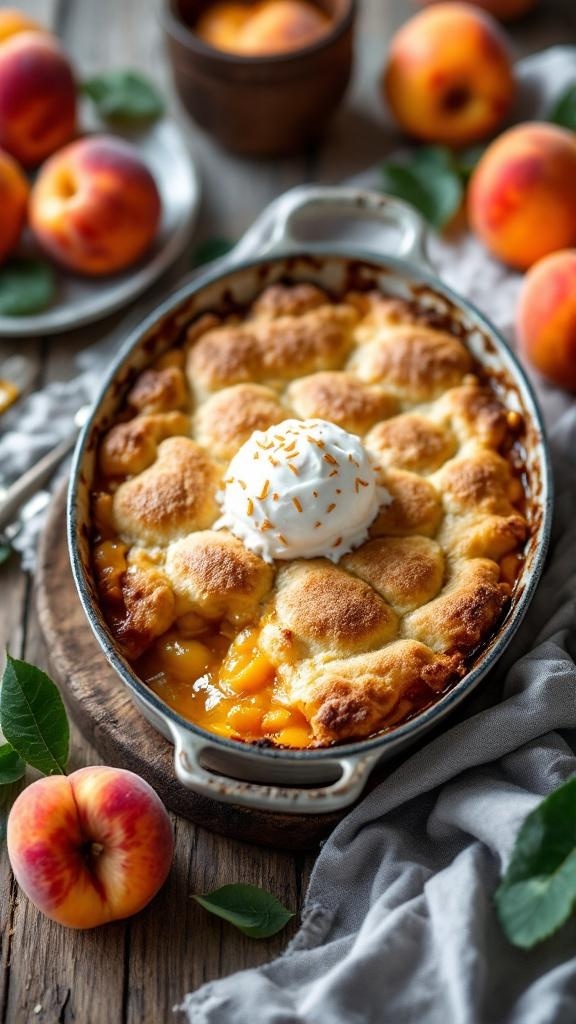
Peach cobbler is a classic dessert that brings warmth and comfort to any table. This version is dairy-free, making it perfect for those who are lactose intolerant or simply prefer to avoid dairy. The golden, flaky topping pairs beautifully with the sweet, juicy peaches underneath.
The image shows a beautifully baked peach cobbler, topped with a dollop of whipped cream. The warm, inviting colors of the dish make it hard to resist. Fresh peaches surround the cobbler, hinting at the delicious fruit flavor inside. It’s a dessert that not only looks good but tastes amazing too!
Making this peach cobbler is simple and rewarding. You’ll love how easy it is to whip up a dessert that everyone can enjoy. Let’s get started!
Ingredients
- 4 cups fresh peaches, peeled and sliced
- 1/2 cup granulated sugar
- 1 tablespoon lemon juice
- 1 teaspoon vanilla extract
- 1 cup gluten-free all-purpose flour
- 1/4 cup coconut oil, melted
- 1/2 cup almond milk
- 1 tablespoon baking powder
- 1/2 teaspoon salt
- 1/4 cup brown sugar
Instructions
- Preheat your oven to 350°F (175°C).
- In a large bowl, combine the sliced peaches, granulated sugar, lemon juice, and vanilla extract. Mix well and set aside.
- In another bowl, whisk together the gluten-free flour, baking powder, salt, and brown sugar.
- Add the melted coconut oil and almond milk to the dry ingredients. Stir until just combined.
- Pour the peach mixture into a greased baking dish. Spoon the batter over the peaches, spreading it evenly.
- Bake for 30-35 minutes, or until the top is golden brown and a toothpick comes out clean.
- Let it cool slightly before serving. Enjoy warm with a dollop of dairy-free whipped cream!
Zesty Lemon Bars That Are Both Gluten And Dairy Free
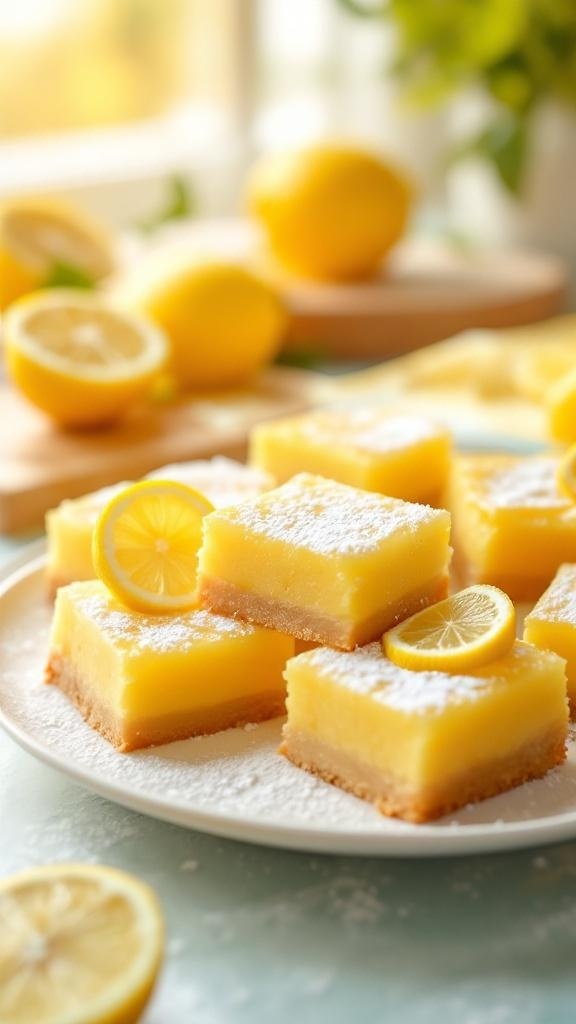
These zesty lemon bars are a delightful treat that everyone can enjoy, even those avoiding gluten and dairy. The bright yellow squares are topped with a light dusting of powdered sugar and garnished with fresh lemon slices, making them as beautiful as they are tasty.
The crust is made from gluten-free ingredients, providing a perfect base for the tangy lemon filling. The filling is smooth and bursting with citrus flavor, striking a lovely balance between sweet and tart. These bars are perfect for a sunny day or any gathering where you want to impress your friends and family.
Making these lemon bars is simple and quick. They are a great way to satisfy your sweet tooth while sticking to dietary needs. Let’s get into the recipe so you can whip up a batch!
Ingredients
- 1 cup gluten-free all-purpose flour
- 1/4 cup coconut oil, melted
- 1/4 cup maple syrup
- 1/4 teaspoon salt
- 1 cup granulated sugar
- 1/4 cup fresh lemon juice
- 2 tablespoons lemon zest
- 1/4 cup almond milk
- 1/4 teaspoon baking powder
Instructions
- Preheat your oven to 350°F (175°C). Grease an 8x8 inch baking dish.
- In a bowl, mix the gluten-free flour, melted coconut oil, maple syrup, and salt until combined. Press this mixture into the bottom of the prepared baking dish to form the crust.
- Bake the crust for about 15 minutes, or until lightly golden.
- While the crust is baking, prepare the filling. In another bowl, whisk together the granulated sugar, lemon juice, lemon zest, almond milk, and baking powder until smooth.
- Pour the lemon filling over the baked crust and return to the oven. Bake for an additional 20-25 minutes, or until the filling is set.
- Let the bars cool completely before slicing. Dust with powdered sugar and serve with lemon slices on top.
Creamy Coconut Curry With Seasonal Vegetables
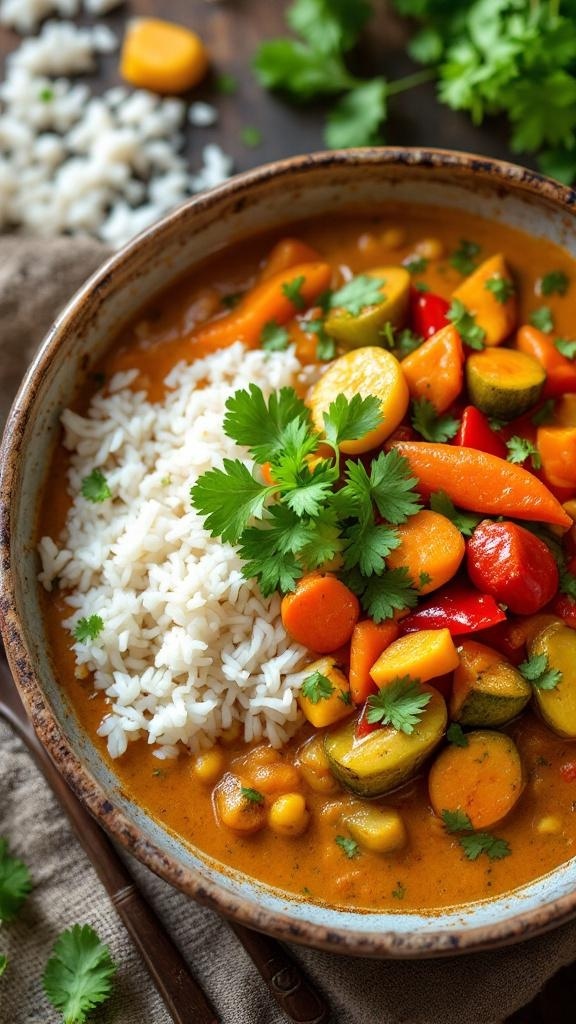
This creamy coconut curry is a delightful dish that combines seasonal vegetables with a rich, flavorful sauce. The vibrant colors of the veggies—like carrots, bell peppers, and zucchini—make it as appealing to the eyes as it is to the taste buds. Served over a bed of fluffy rice, this meal is comforting and satisfying.
The coconut milk adds a creamy texture without any dairy, making it perfect for those who are dairy-free. The spices bring warmth and depth to the dish, while fresh herbs like cilantro add a burst of freshness. It’s a great way to enjoy seasonal produce while keeping things gluten-free and dairy-free.
Gather your ingredients and get ready to whip up a bowl of this delicious curry. It’s simple to make and perfect for a cozy dinner at home.
Ingredients
- 1 tablespoon coconut oil
- 1 onion, chopped
- 2 cloves garlic, minced
- 1 tablespoon fresh ginger, minced
- 1 tablespoon curry powder
- 1 can (14 oz) coconut milk
- 2 cups vegetable broth
- 2 cups seasonal vegetables (carrots, zucchini, bell peppers, etc.)
- 1 can (15 oz) chickpeas, drained and rinsed
- Salt and pepper to taste
- Fresh cilantro for garnish
- Cooked rice for serving
Instructions
- Heat coconut oil in a large pot over medium heat. Add chopped onion and sauté until translucent.
- Stir in minced garlic and ginger, cooking for another minute until fragrant.
- Add curry powder and mix well, allowing the spices to toast slightly.
- Pour in the coconut milk and vegetable broth, stirring to combine.
- Add the seasonal vegetables and chickpeas. Bring to a simmer and cook for about 15-20 minutes until the vegetables are tender.
- Season with salt and pepper to taste. Serve over cooked rice and garnish with fresh cilantro.
Flavorful Zucchini Noodles With Avocado Pesto
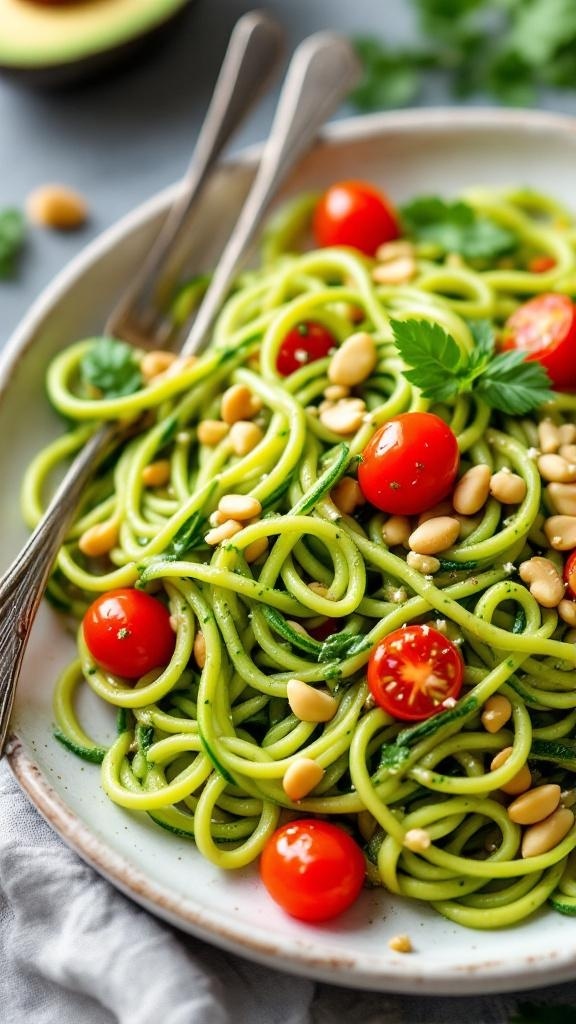
Zucchini noodles, or zoodles, are a fantastic gluten-free and dairy-free alternative to traditional pasta. They are light, refreshing, and perfect for a quick meal. This dish features vibrant green zucchini spirals tossed in a creamy avocado pesto that bursts with flavor.
The image showcases a beautiful plate of zoodles topped with cherry tomatoes and pine nuts, making it not just tasty but also visually appealing. The bright colors of the ingredients invite you to dig in!
Making this dish is simple. Start by spiralizing fresh zucchini into noodles. Then, whip up a quick avocado pesto using ripe avocados, fresh basil, garlic, lemon juice, and olive oil. Toss the zoodles in the pesto, add some halved cherry tomatoes, and sprinkle with toasted pine nuts for crunch. It's a delightful meal that satisfies without weighing you down.
Whether you're looking for a light lunch or a quick dinner, these zucchini noodles with avocado pesto are sure to impress!
Decadent Chocolate Avocado Mousse
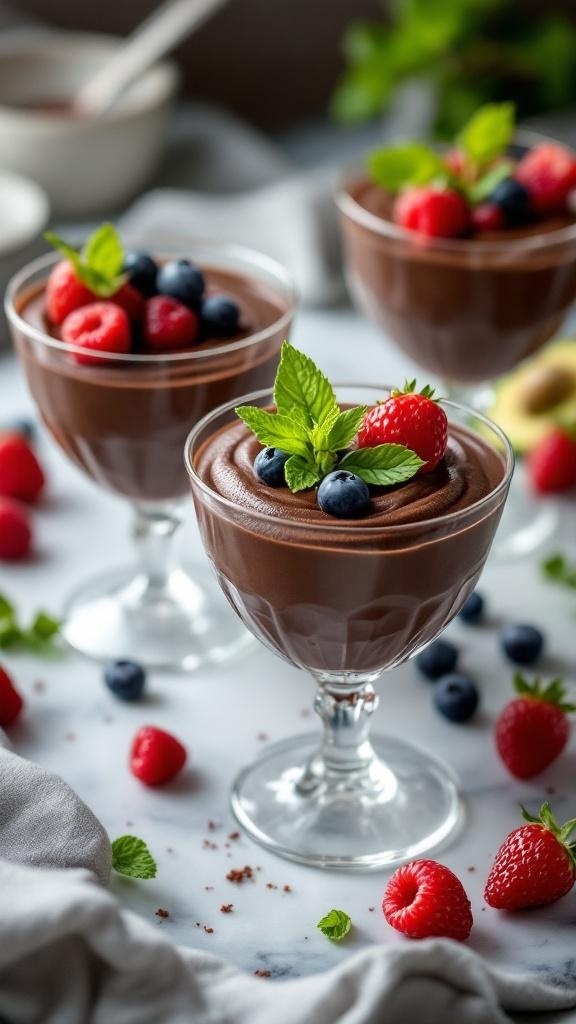
This Chocolate Avocado Mousse is a delightful treat that proves you can enjoy dessert without gluten or dairy. The rich, creamy texture comes from ripe avocados, making it a healthy alternative to traditional mousse. Topped with fresh berries and mint, it looks as good as it tastes!
To make this mousse, you’ll blend ripe avocados with cocoa powder, maple syrup, and a splash of vanilla extract. The result is a smooth, chocolatey delight that satisfies your sweet tooth while keeping things light and nutritious. Serve it in individual cups for a fancy touch at your next gathering.
Ingredients
- 2 ripe avocados
- 1/2 cup unsweetened cocoa powder
- 1/2 cup maple syrup
- 1 teaspoon vanilla extract
- 1/4 cup almond milk (or any dairy-free milk)
- Fresh berries (strawberries, blueberries, raspberries) for topping
- Fresh mint leaves for garnish
Instructions
- Prepare the Avocados: Cut the avocados in half, remove the pit, and scoop the flesh into a blender.
- Add Ingredients: To the blender, add cocoa powder, maple syrup, vanilla extract, and almond milk.
- Blend Until Smooth: Blend all ingredients until you achieve a creamy and smooth consistency. You may need to scrape down the sides to ensure everything is well mixed.
- Chill: Transfer the mousse into serving cups and refrigerate for at least 30 minutes to allow it to set.
- Serve: Top with fresh berries and mint leaves before serving. Enjoy your guilt-free dessert!
Crispy Sweet Potato Wedges With Spicy Dip
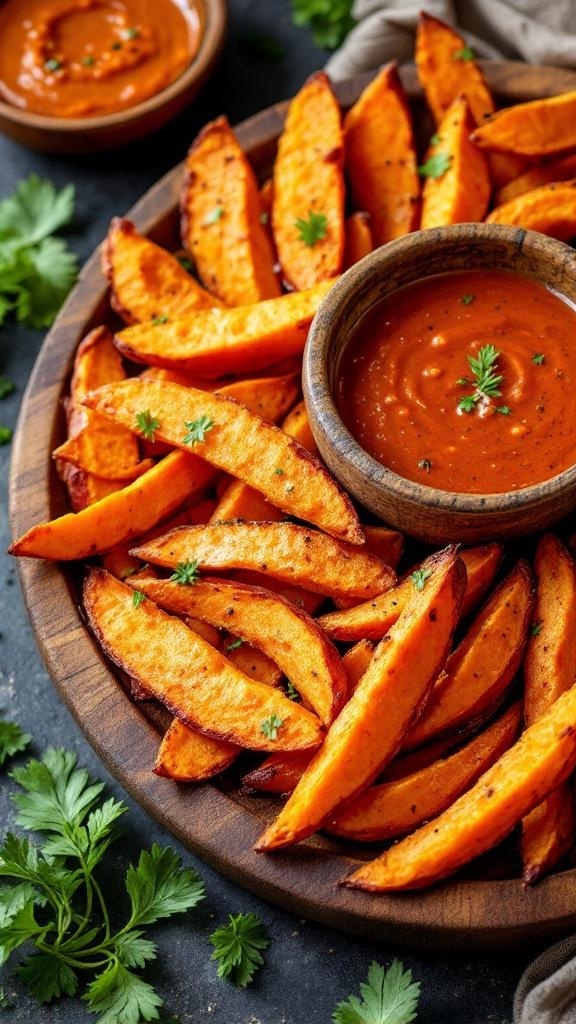
Crispy sweet potato wedges are a fantastic snack or side dish that everyone will love. They are naturally gluten-free and dairy-free, making them perfect for those with dietary restrictions. The golden-brown wedges are seasoned to perfection, giving them a delightful crunch on the outside while remaining soft and fluffy on the inside.
The spicy dip adds an exciting kick, balancing the sweetness of the potatoes. This combination is not just healthy; it’s also incredibly satisfying. Whether you’re hosting a gathering or enjoying a quiet night in, these wedges will surely impress.
Let’s get cooking!
Ingredients
- 2 large sweet potatoes
- 2 tablespoons olive oil
- 1 teaspoon paprika
- 1 teaspoon garlic powder
- 1/2 teaspoon salt
- 1/4 teaspoon black pepper
- 1/4 teaspoon cayenne pepper (optional, for heat)
- 1/2 cup dairy-free yogurt
- 1 tablespoon hot sauce
- 1 teaspoon lime juice
- Fresh cilantro for garnish
Instructions
- Preheat your oven to 425°F (220°C). Line a baking sheet with parchment paper.
- Wash and peel the sweet potatoes. Cut them into wedges, about 1/2 inch thick.
- In a large bowl, toss the sweet potato wedges with olive oil, paprika, garlic powder, salt, black pepper, and cayenne pepper until evenly coated.
- Spread the wedges in a single layer on the prepared baking sheet. Bake for 25-30 minutes, flipping halfway through, until they are crispy and golden brown.
- While the wedges are baking, prepare the spicy dip. In a small bowl, mix together dairy-free yogurt, hot sauce, and lime juice until smooth.
- Once the wedges are done, remove them from the oven and let them cool slightly. Serve with the spicy dip and garnish with fresh cilantro.
GET 8-WEEKS OF WORKOUTS TO LOSE INCHES
Savory Broccoli And Cheese Casserole (Dairy-Free)
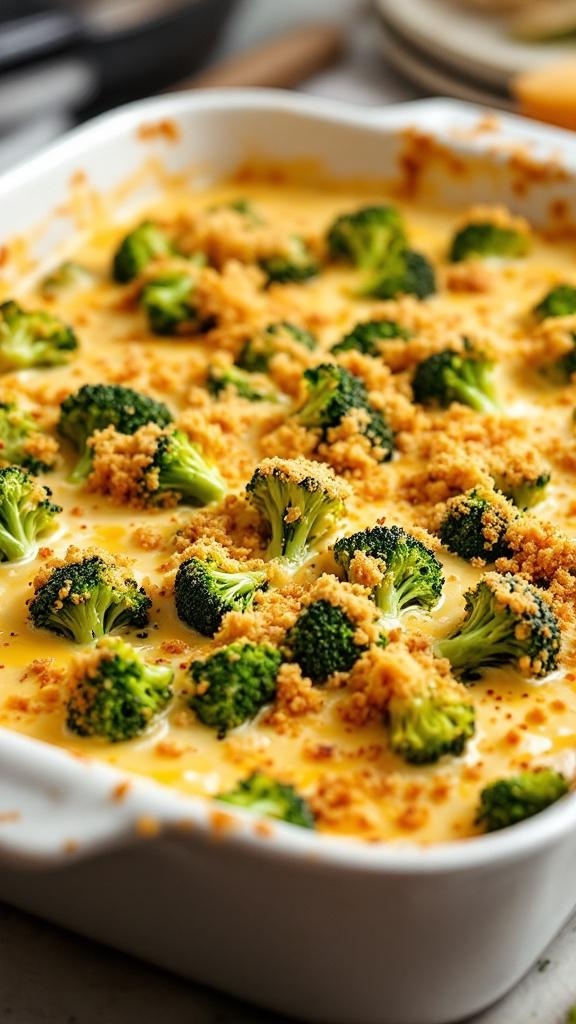
This Savory Broccoli and Cheese Casserole is a delightful dish that proves you can enjoy comfort food without gluten or dairy. The image showcases a beautifully baked casserole, with vibrant green broccoli florets peeking through a creamy, golden sauce. The crispy topping adds a satisfying crunch, making it a perfect side or main dish for any meal.
Using dairy-free cheese alternatives, this recipe keeps the cheesy flavor intact while being friendly for those with dietary restrictions. It’s easy to make and packed with nutrients, making it a win-win for everyone at the table!
Ingredients
- 4 cups fresh broccoli florets
- 1 cup dairy-free cheese shreds
- 1 cup unsweetened almond milk
- 1/4 cup nutritional yeast
- 1/4 cup gluten-free breadcrumbs
- 1 tablespoon olive oil
- 1 teaspoon garlic powder
- 1 teaspoon onion powder
- Salt and pepper to taste
Instructions
- Preheat your oven to 350°F (175°C).
- In a large pot, steam the broccoli florets until just tender, about 3-4 minutes. Drain and set aside.
- In a mixing bowl, combine almond milk, nutritional yeast, garlic powder, onion powder, salt, and pepper. Whisk until smooth.
- Add the steamed broccoli and dairy-free cheese to the mixture. Stir until well combined.
- Transfer the mixture to a greased baking dish. Sprinkle gluten-free breadcrumbs on top and drizzle with olive oil.
- Bake for 25-30 minutes, or until the top is golden and crispy.
- Let it cool for a few minutes before serving. Enjoy your delicious, dairy-free casserole!
Classic Hummus With Fresh Vegetables For Dipping

Hummus is a fantastic choice for anyone looking for a gluten-free and dairy-free snack. This creamy dip is made from chickpeas, tahini, and a splash of lemon juice, creating a smooth texture that pairs perfectly with fresh veggies. In the image, you can see a bowl of hummus drizzled with olive oil, surrounded by a colorful array of fresh vegetables like carrots, cucumbers, and bell peppers. These vibrant veggies not only add crunch but also bring extra nutrients to your snack.
Making hummus at home is easy and allows you to control the ingredients. You can customize it with spices or herbs to suit your taste. Whether you’re hosting a gathering or just enjoying a quiet night in, this classic hummus is sure to impress.
Ingredients
- 1 can (15 oz) chickpeas, drained and rinsed
- 1/4 cup tahini
- 2 tablespoons olive oil
- 2 tablespoons lemon juice
- 1 garlic clove, minced
- 1/2 teaspoon ground cumin
- Salt to taste
- Water as needed for consistency
- Fresh vegetables for dipping (carrots, cucumbers, bell peppers)
Instructions
- Blend Ingredients: In a food processor, combine chickpeas, tahini, olive oil, lemon juice, garlic, cumin, and salt. Blend until smooth.
- Adjust Consistency: If the hummus is too thick, add water a tablespoon at a time until you reach your desired consistency.
- Taste and Adjust: Give it a taste and adjust the salt or lemon juice if needed.
- Serve: Transfer the hummus to a serving bowl, drizzle with a bit more olive oil, and serve with fresh vegetables for dipping.
Tantalizing Thai Coconut Soup With Tofu
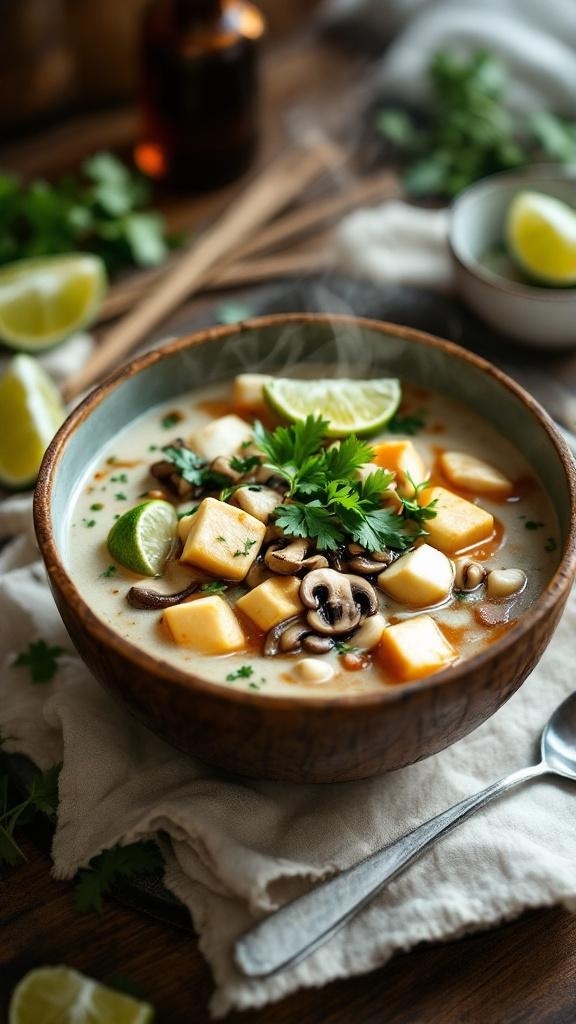
This Thai Coconut Soup is a warm hug in a bowl. Packed with flavors, it features creamy coconut milk, fresh herbs, and tender tofu. The vibrant colors of the ingredients make it visually appealing, while the aroma is simply irresistible. The soup is topped with fresh lime and cilantro, adding a zesty kick that brightens every spoonful.
Perfect for a cozy night in or a gathering with friends, this dish is gluten-free and dairy-free, making it suitable for various dietary needs. The combination of mushrooms and tofu provides a satisfying texture, while the coconut milk adds richness without the dairy.
Let’s get cooking! Here’s how to whip up this delightful soup:
Ingredients
- 1 tablespoon coconut oil
- 1 onion, chopped
- 3 cloves garlic, minced
- 1 tablespoon fresh ginger, grated
- 1 red bell pepper, diced
- 1 can (14 oz) coconut milk
- 4 cups vegetable broth
- 1 cup mushrooms, sliced
- 1 block (14 oz) firm tofu, cubed
- 2 tablespoons soy sauce (or tamari for gluten-free)
- 1 tablespoon lime juice
- Fresh cilantro, for garnish
- Lime wedges, for serving
Instructions
- Heat coconut oil in a large pot over medium heat. Add chopped onion and sauté until translucent, about 5 minutes.
- Stir in garlic and ginger, cooking for another minute until fragrant.
- Add diced red bell pepper and cook for 2-3 minutes, softening slightly.
- Pour in coconut milk and vegetable broth, bringing the mixture to a gentle simmer.
- Add sliced mushrooms and cubed tofu, cooking for 10 minutes until mushrooms are tender.
- Stir in soy sauce and lime juice, adjusting seasoning to taste.
- Serve hot, garnished with fresh cilantro and lime wedges on the side.
Struggling to Stay on Track with Your Eating?
You’re not alone. One of the biggest obstacles I see people
face is not knowing what to eat. Between busy schedules, endless diet
advice online, and trying to cook healthy meals that actually taste good—it’s
easy to feel stuck or overwhelmed.
That’s why I created my 21 Quick & Easy Custom
Low-Calorie Meal Plans Program. These plans are built specifically for
you—your goals, your lifestyle, and your food preferences. You won’t find
any cookie-cutter diets here. Just real, satisfying meals that help you stay
full, energized, and on track without the stress.
✅ No more guessing.
✅
No more skipping meals or eating “diet food” you hate.
✅
Just a clear, doable plan that fits your life.
👉 Ready to eat better,
feel better, and finally make progress? [Click here to get your custom meal plans today.]
Not Seeing the Inches Drop No Matter What You Do?
If you’re working out but still not seeing the results in
the mirror, I hear you. So many people come to me after months of doing cardio
or random workouts—and still struggling to lose inches or tone up. The truth
is, your body needs more than just movement. It needs a proven strategy.
My 8-Week Workout Program to Lose Inches is designed
to do just that—burn fat, tighten up, and give you visible results.
These workouts are fun, effective, and designed for real people with real
lives. Whether you’re getting back into fitness or ready to take it to the next
level, this program gives you a clear path to success.
✅ Just 8 weeks to build strength,
confidence, and a fitter shape.
✅
No endless cardio.
✅
No gym required (unless you want it).
👉 If you're ready to
drop inches and feel amazing in your own skin, [click here to start the 8-Week Workout Program].


Comments
Post a Comment