12 Quick 3-Ingredient Gluten Free Desserts for Busy Nights
12 Quick 3-Ingredient Gluten Free Desserts for Busy Nights
Craving something sweet but pressed for time? These quick 3-ingredient gluten-free desserts are perfect for busy nights when you want a tasty treat without the fuss. Whip up delicious options in no time, all while keeping your dietary needs in check. With minimal effort and maximum flavor, you can satisfy that sweet tooth with ease!
Indulgent Chocolate Avocado Mousse For A Creamy Delight
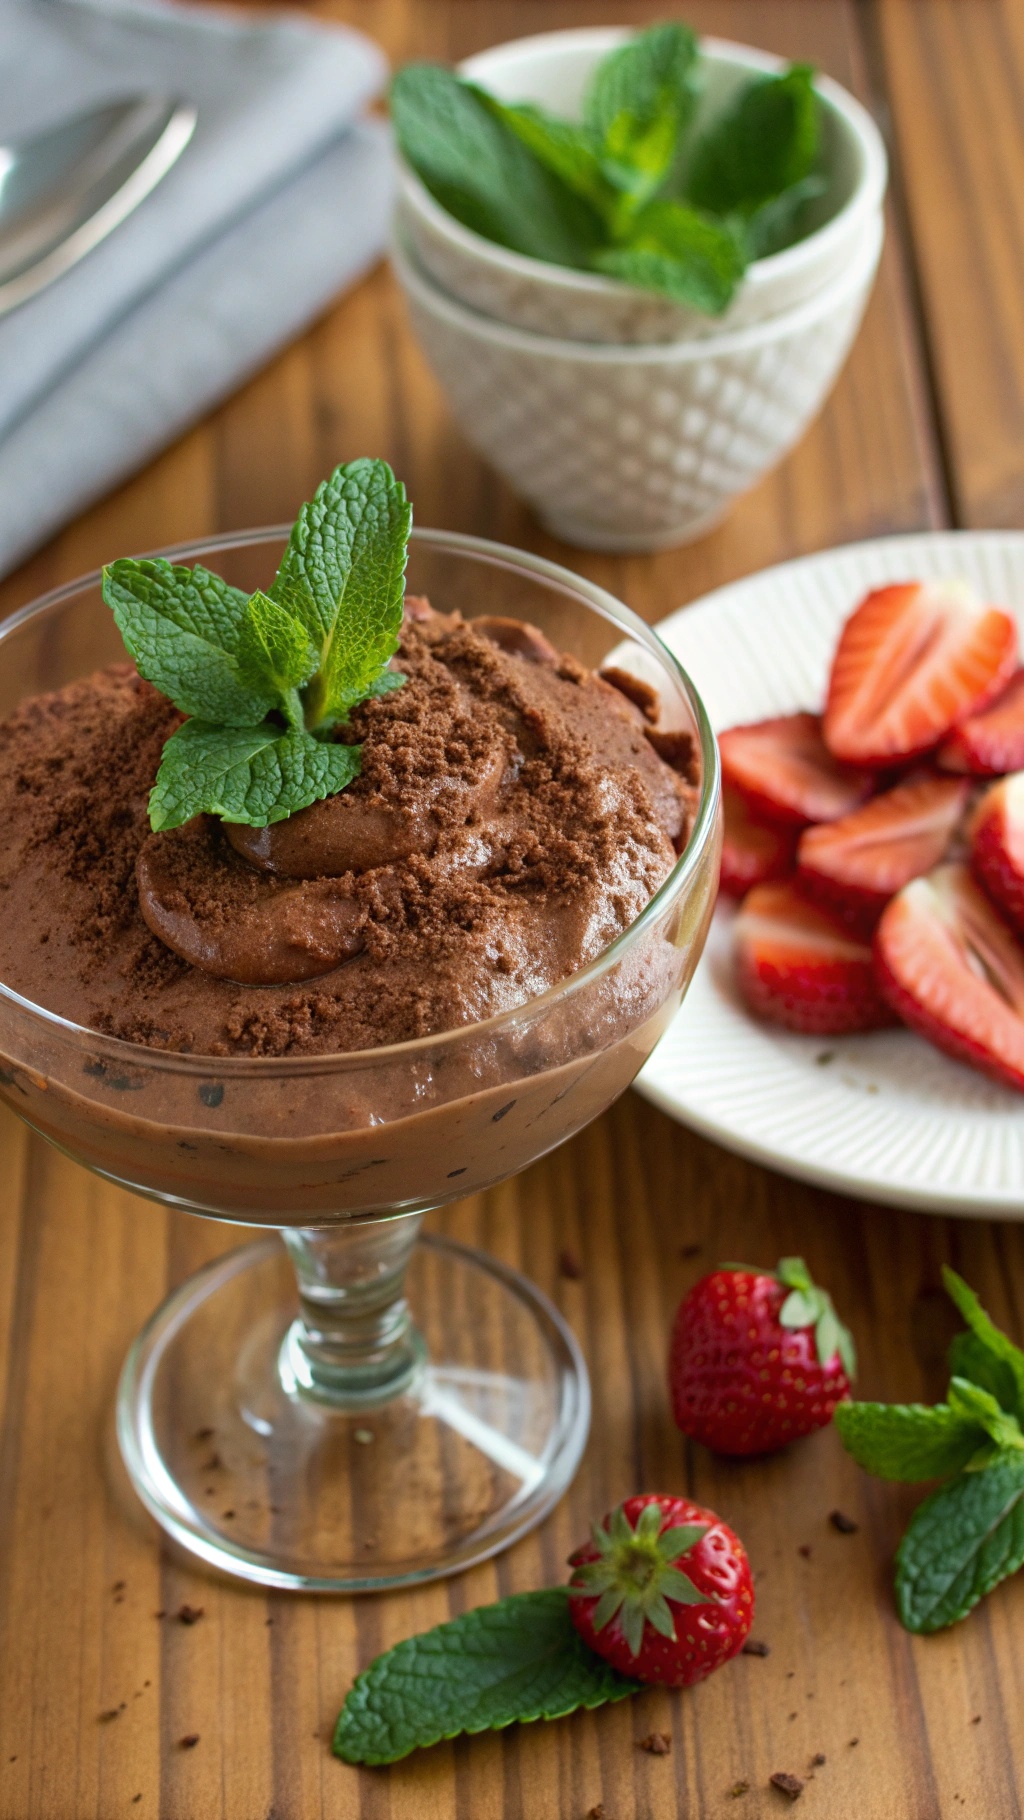
If you're looking for a quick and satisfying dessert, this chocolate avocado mousse is a fantastic choice. It's rich, creamy, and surprisingly easy to whip up. Plus, it’s gluten-free, making it perfect for those with dietary restrictions. The combination of ripe avocados and cocoa powder creates a smooth texture that feels indulgent without the guilt.
The mousse is topped with fresh mint leaves, adding a pop of color and a refreshing taste. You can also serve it with sliced strawberries for a fruity twist. This dessert is not just about flavor; it’s also packed with healthy fats from the avocado, making it a smart choice for a late-night treat.
Ingredients
- 2 ripe avocados
- 1/2 cup unsweetened cocoa powder
- 1/4 cup maple syrup or honey
- 1 teaspoon vanilla extract
- Pinch of salt
Instructions
- Prepare the Avocados: Cut the avocados in half, remove the pits, and scoop the flesh into a blender or food processor.
- Add Ingredients: Add cocoa powder, maple syrup (or honey), vanilla extract, and a pinch of salt to the blender.
- Blend Until Smooth: Blend everything until you achieve a creamy and smooth consistency. You may need to scrape down the sides a few times to ensure everything is mixed well.
- Taste and Adjust: Taste the mousse and adjust sweetness if needed by adding more maple syrup or honey.
- Chill and Serve: Transfer the mousse to serving bowls and chill in the refrigerator for about 30 minutes. Serve with fresh mint and strawberries on top.
Decadent Peanut Butter Chocolate Fudge For A Quick Treat
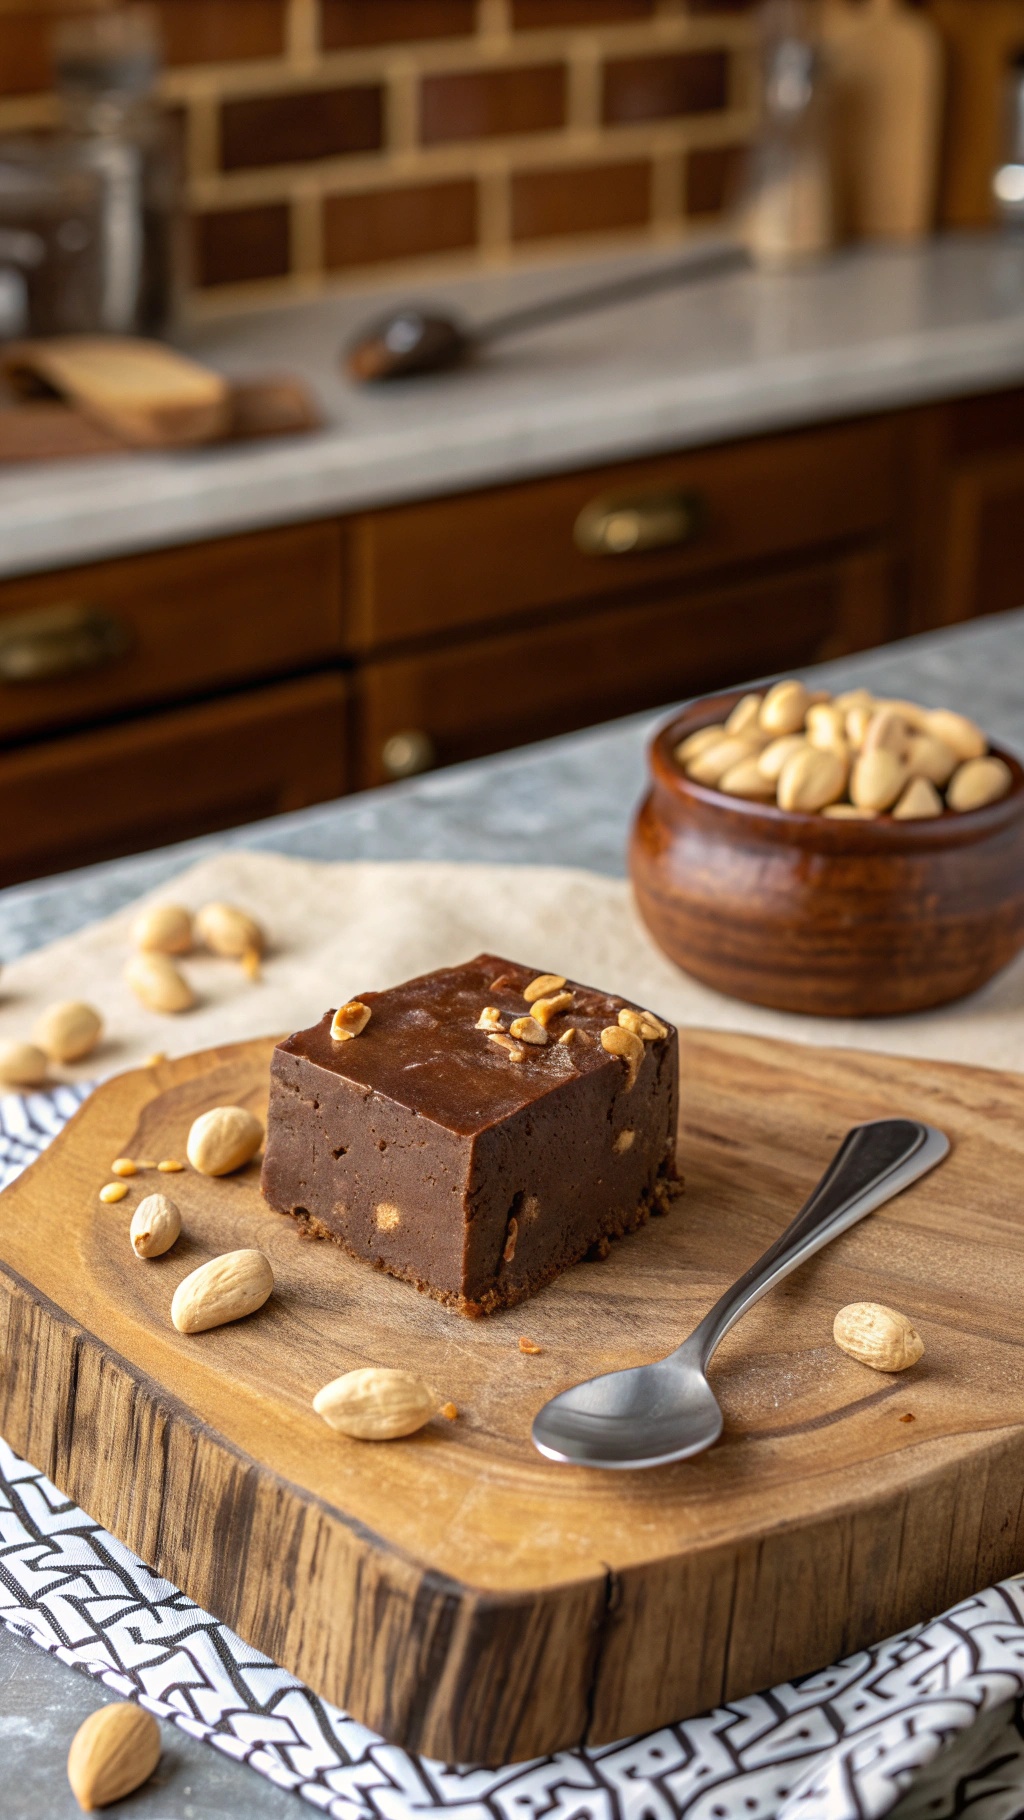
When you're in need of a quick dessert, this peanut butter chocolate fudge is a lifesaver. With just three ingredients, it’s simple to whip up and satisfies that sweet tooth in no time. The rich chocolate pairs perfectly with creamy peanut butter, making it a delightful treat for any occasion.
The fudge is beautifully presented on a wooden board, with a generous square cut out, showcasing its smooth texture. Surrounding the fudge are scattered peanuts, adding a nice crunch and hinting at the flavor inside. A small spoon rests beside the fudge, inviting you to dig in. In the background, you can see a rustic kitchen setting that adds warmth to the scene, making it feel cozy and inviting.
This treat is perfect for busy nights when you want something sweet without spending hours in the kitchen. Plus, it’s gluten-free, making it a great option for those with dietary restrictions.
Ingredients
- 1 cup peanut butter
- 1 cup chocolate chips
- 1/4 cup honey or maple syrup
Instructions
- Prepare the Pan: Line an 8x8 inch baking dish with parchment paper for easy removal.
- Melt the Chocolate: In a microwave-safe bowl, combine the chocolate chips and peanut butter. Heat in 30-second intervals, stirring in between, until fully melted and smooth.
- Add Sweetener: Stir in the honey or maple syrup until well combined.
- Pour and Set: Pour the mixture into the prepared baking dish, spreading it evenly. Refrigerate for at least 2 hours until firm.
- Cut and Serve: Once set, remove from the pan, cut into squares, and enjoy your delicious fudge!
Fruity Berry Crumble With Oat Topping For A Summery Twist
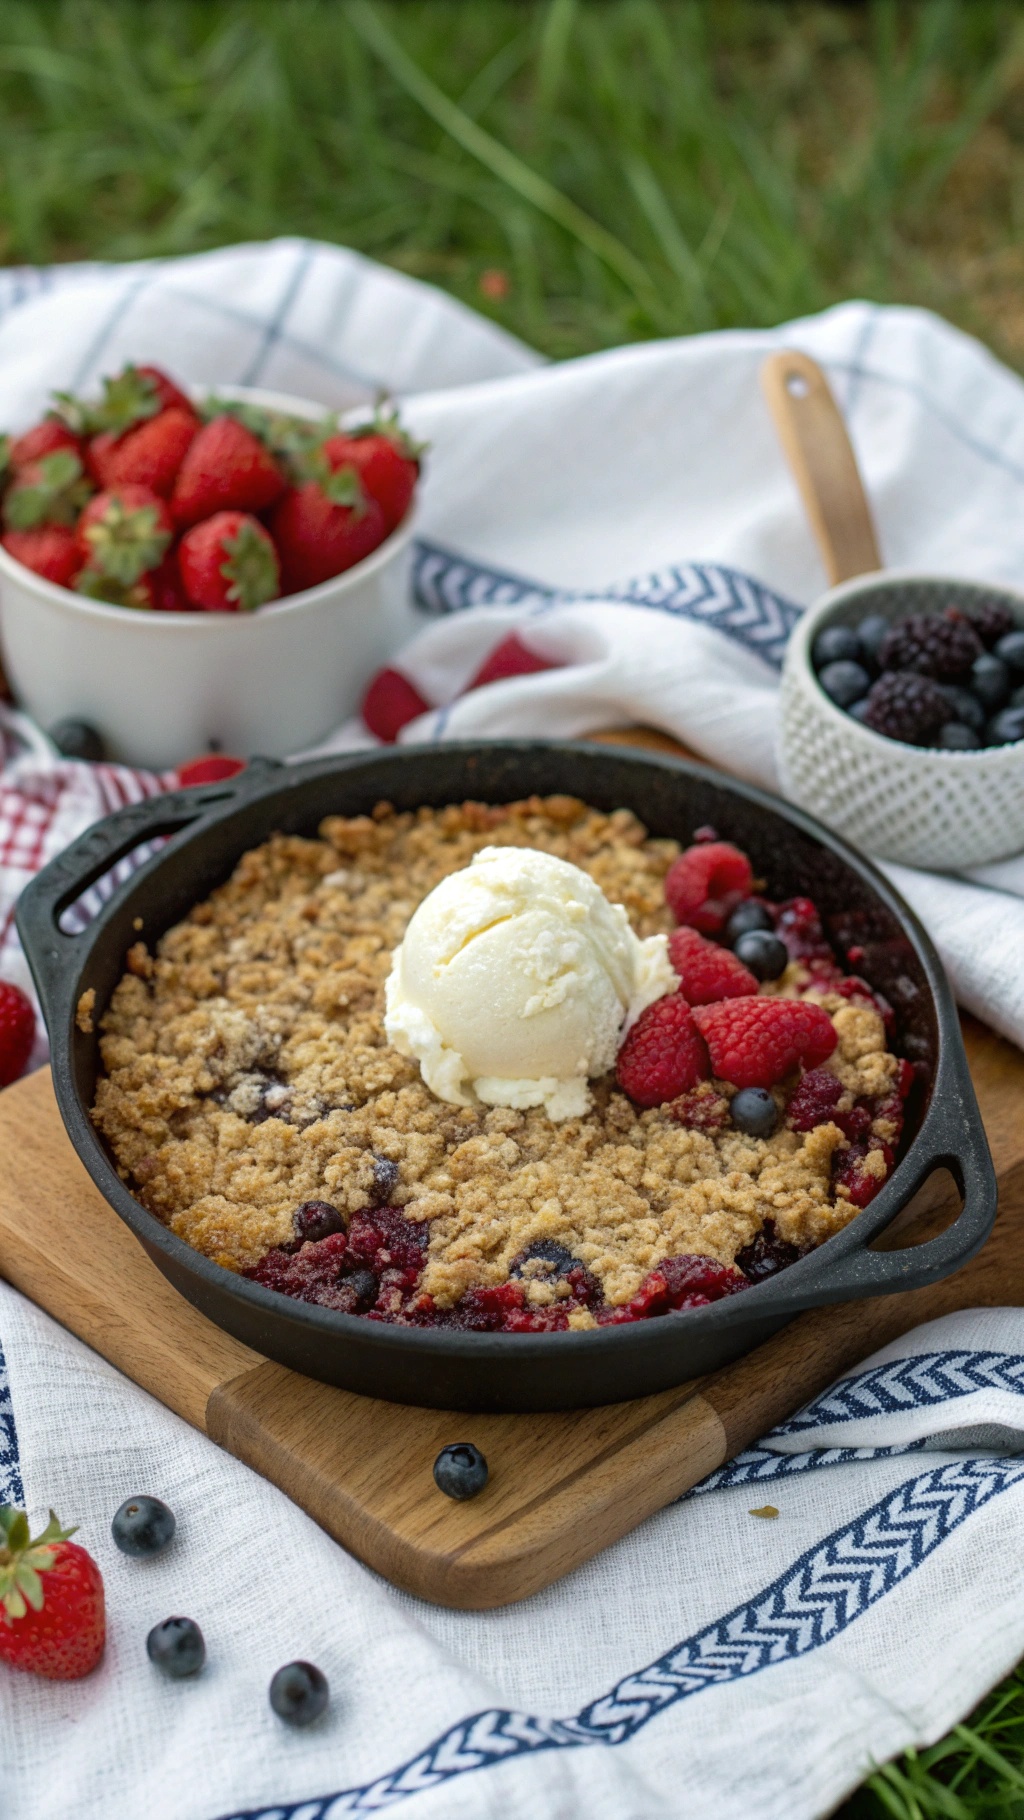
Looking for a quick dessert that screams summer? This fruity berry crumble is just the thing! Bursting with fresh berries and topped with a crunchy oat mixture, it’s a delightful treat that’s easy to whip up on busy nights.
The image showcases a warm, golden crumble in a cast-iron skillet, topped with a scoop of creamy vanilla ice cream. Surrounding it are vibrant strawberries and blueberries, adding a pop of color and freshness. This dish is perfect for sharing or enjoying all by yourself!
With just three simple ingredients, you can create a dessert that feels indulgent without the fuss. The combination of sweet berries and a crispy oat topping makes for a satisfying bite every time. Plus, it’s gluten-free, so everyone can enjoy it!
Ingredients
- 2 cups mixed berries (strawberries, blueberries, raspberries)
- 1 cup rolled oats
- 1/4 cup honey or maple syrup
Instructions
- Preheat your oven to 350°F (175°C).
- In a mixing bowl, combine the mixed berries and honey or maple syrup. Spread this mixture evenly in a greased baking dish.
- In another bowl, mix the rolled oats with a bit more honey or maple syrup if desired. Sprinkle the oat mixture over the berries.
- Bake for 25-30 minutes until the topping is golden brown and the berries are bubbling.
- Serve warm, topped with a scoop of ice cream if you like!
Simple Banana Oat Cookies For A Quick Bake

These banana oat cookies are a fantastic option for busy nights. With just three ingredients, they come together quickly and easily. The cookies are soft, chewy, and packed with flavor, making them a perfect treat for any time of day.
The image showcases the cookies cooling on a wire rack, surrounded by sliced bananas and a bowl of oats. The golden color of the cookies hints at their deliciousness, while the banana slices add a fresh touch. This simple setup emphasizes how easy it is to whip up a batch of these delightful cookies.
To make these cookies, you’ll need ripe bananas, oats, and a pinch of salt. That’s it! The bananas provide natural sweetness, while the oats give them a hearty texture. You can even add chocolate chips or nuts if you like, but they’re just as tasty on their own.
Ingredients
- 2 ripe bananas
- 1 cup rolled oats
- 1/4 teaspoon salt
Instructions
- Preheat your oven to 350°F (175°C) and line a baking sheet with parchment paper.
- In a mixing bowl, mash the ripe bananas until smooth.
- Add the rolled oats and salt to the mashed bananas. Mix until well combined.
- Drop spoonfuls of the mixture onto the prepared baking sheet, spacing them about 2 inches apart.
- Bake for 10-12 minutes, or until the cookies are lightly golden.
- Let them cool on the baking sheet for a few minutes before transferring to a wire rack to cool completely.
Enjoy these cookies warm or store them in an airtight container for a quick snack later!
Lemon Sorbet For A Zesty Refreshment
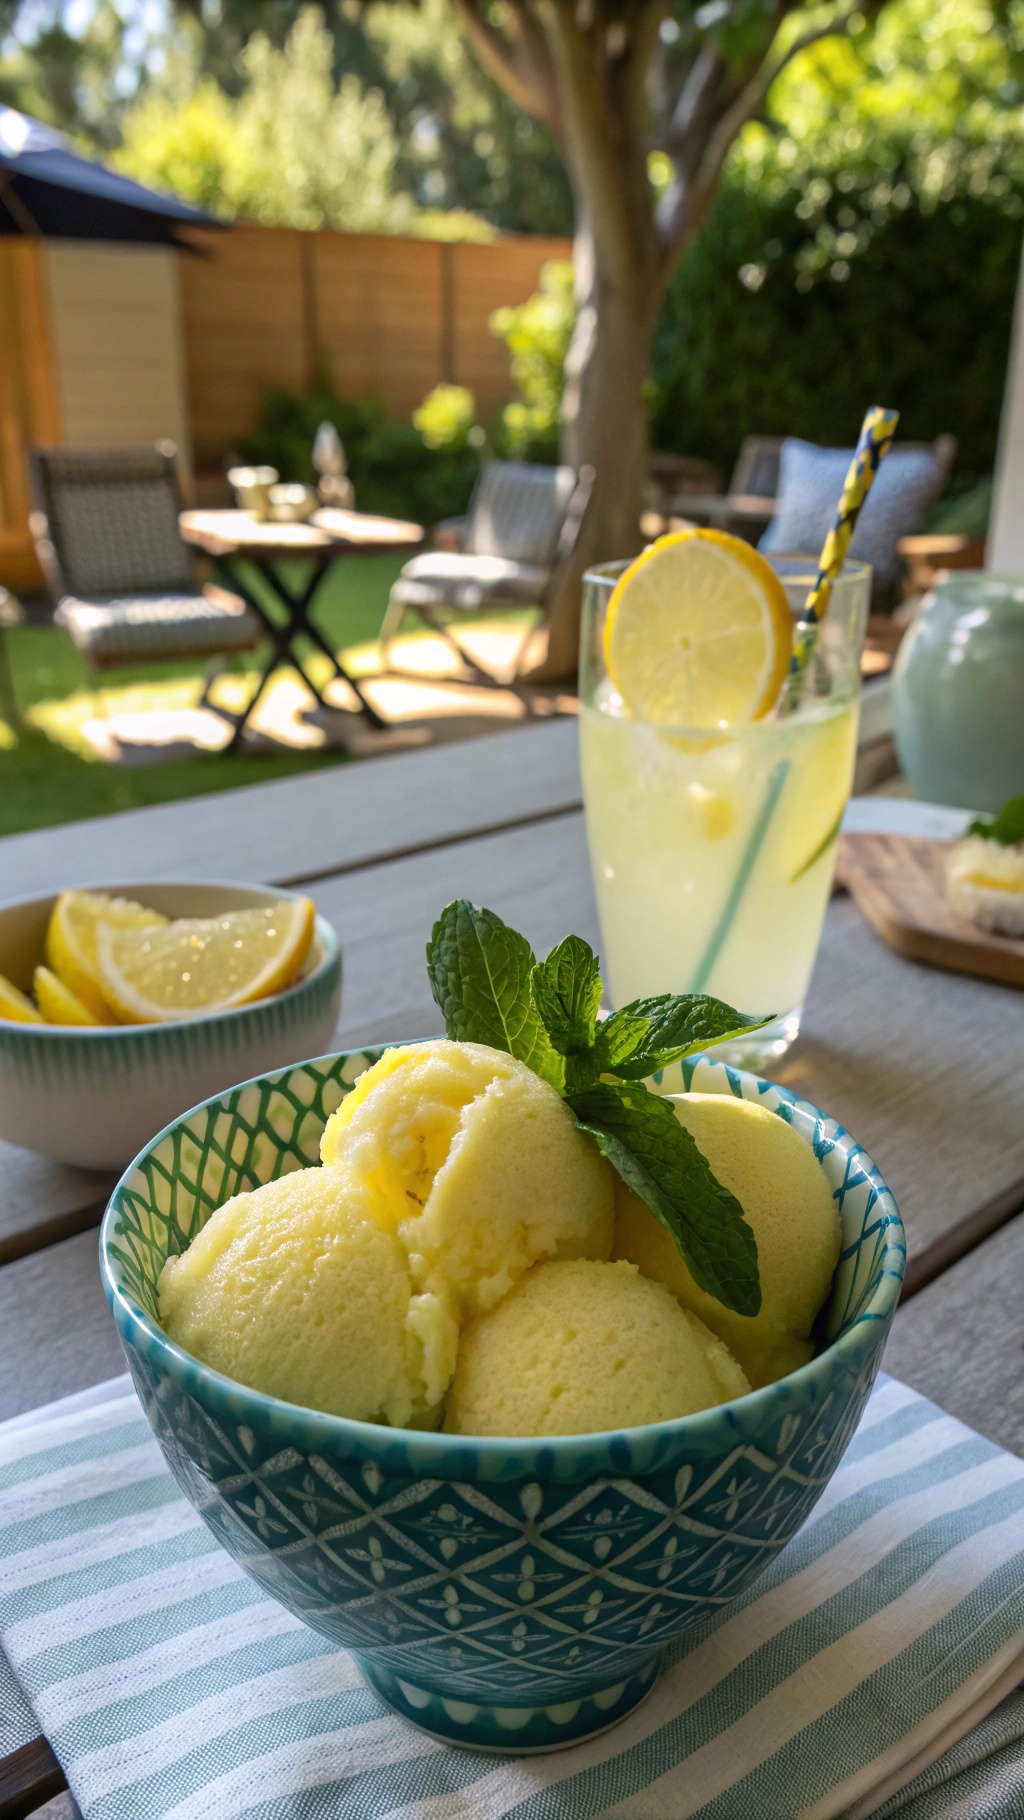
Lemon sorbet is a fantastic treat that brings a burst of freshness to any evening. With just three simple ingredients, it’s the perfect dessert for those busy nights when you want something light and refreshing. The vibrant yellow color and smooth texture make it visually appealing, while the zesty lemon flavor is sure to awaken your taste buds.
Imagine enjoying this sorbet on a warm evening, perhaps in your backyard, surrounded by the sounds of nature. It pairs wonderfully with a glass of lemonade, making it a delightful way to cool off. Plus, it’s gluten-free, so everyone can enjoy it!
Making lemon sorbet is quick and easy. You’ll need fresh lemons, sugar, and water. The process involves blending these ingredients together and freezing the mixture until it’s firm. It’s a simple way to satisfy your sweet tooth without a lot of fuss.
Ingredients
- 1 cup fresh lemon juice (about 4-6 lemons)
- 1 cup granulated sugar
- 2 cups water
Instructions
- In a small saucepan, combine the sugar and water. Heat over medium heat, stirring until the sugar dissolves completely. Remove from heat and let it cool.
- Once cooled, mix in the fresh lemon juice.
- Pour the mixture into a shallow dish and place it in the freezer.
- Every 30 minutes, stir the mixture with a fork to break up ice crystals. Repeat this process until the sorbet is fully frozen and fluffy, about 2-3 hours.
- Scoop into bowls and serve immediately, garnished with mint leaves if desired.
Chocolate-Dipped Fruit For An Elegant Touch
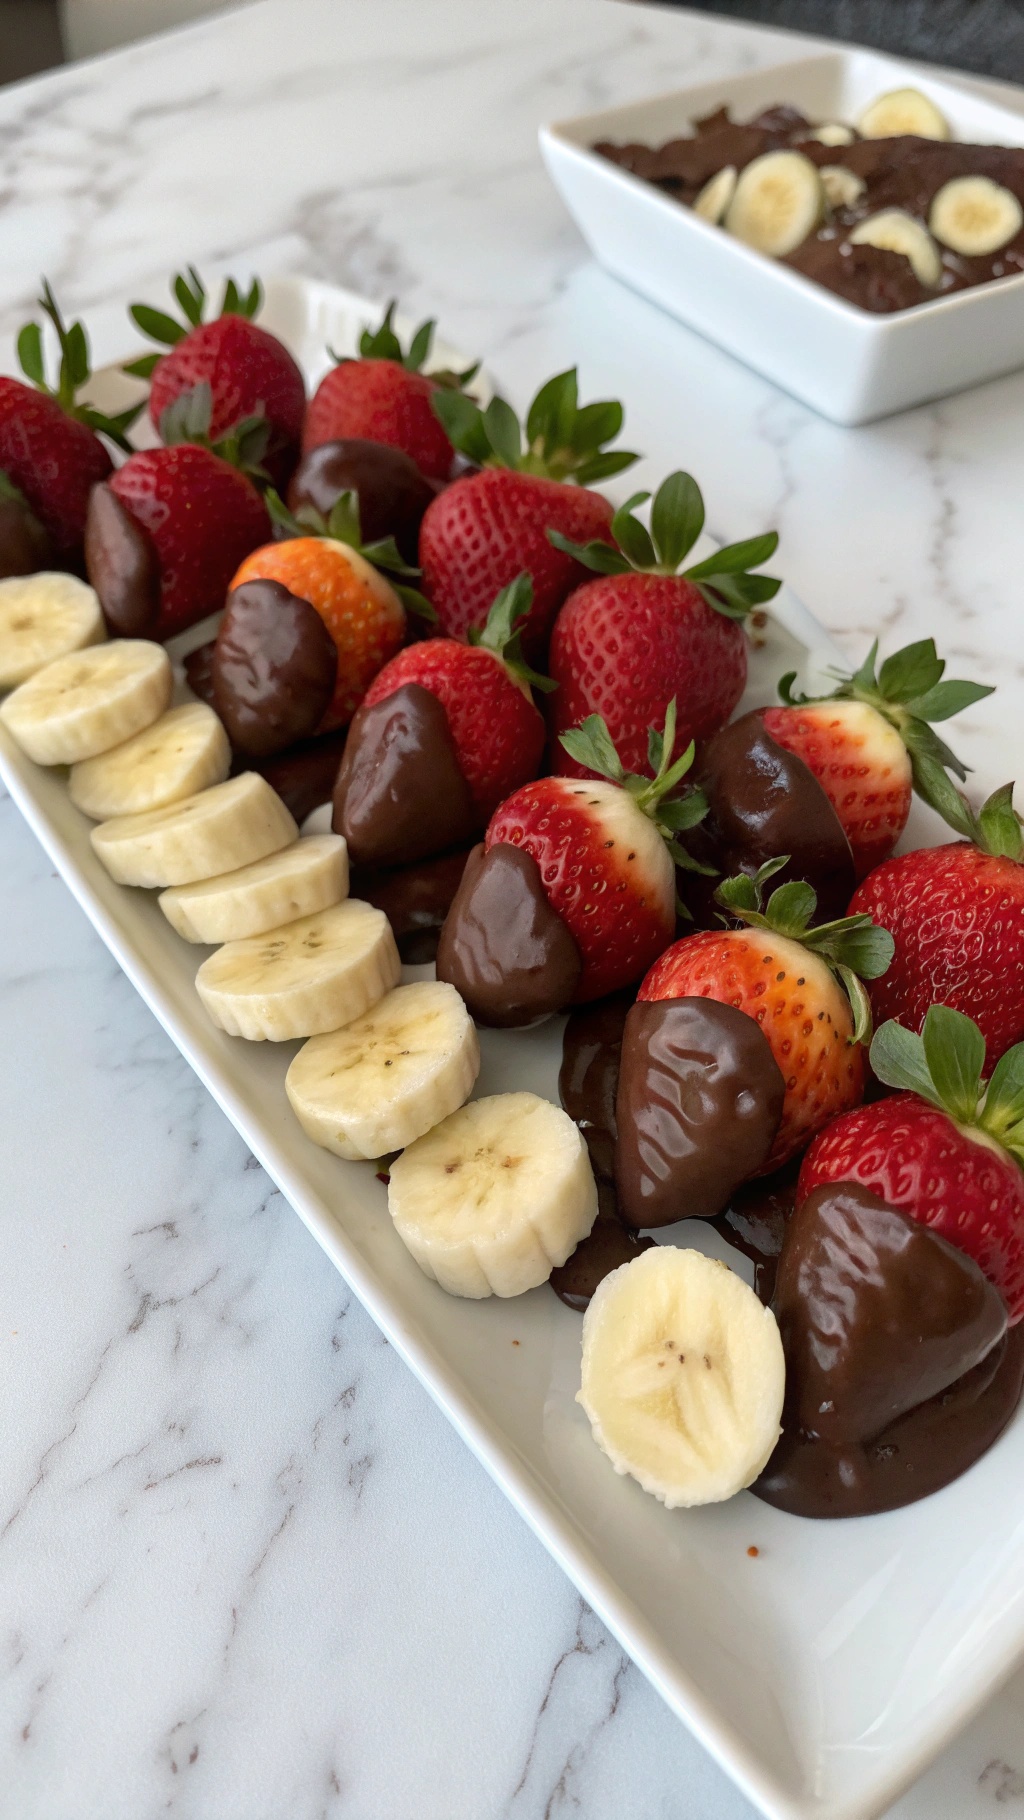
Chocolate-dipped fruit is a simple yet classy dessert that can impress anyone. This treat combines the sweetness of fresh fruit with the rich flavor of chocolate. It’s perfect for busy nights when you want something quick but still special.
In the image, you see a beautiful arrangement of strawberries and bananas, each dipped in smooth chocolate. The vibrant colors of the fruit pop against the dark chocolate, making it visually appealing. This dessert not only looks good but also tastes amazing!
Making chocolate-dipped fruit is easy. You can customize it with your favorite fruits and even add toppings like crushed nuts or sprinkles. It’s a fun way to enjoy healthy snacks while satisfying your sweet tooth.
Here’s how to whip up this delightful dessert:
Ingredients
- 1 cup dark chocolate chips
- 1 tablespoon coconut oil
- 1 cup strawberries, washed and dried
- 1 banana, sliced
Instructions
- Melt the Chocolate: In a microwave-safe bowl, combine the dark chocolate chips and coconut oil. Microwave in 30-second intervals, stirring in between, until smooth.
- Dip the Fruit: Hold each strawberry by the stem and dip it into the melted chocolate. Let the excess chocolate drip off. For the banana slices, dip each piece into the chocolate as well.
- Set to Cool: Place the dipped fruit on a parchment-lined tray. Refrigerate for about 30 minutes until the chocolate hardens.
- Serve: Arrange the chocolate-dipped fruit on a serving platter and enjoy!
Quick And Easy Rice Pudding With A Twist
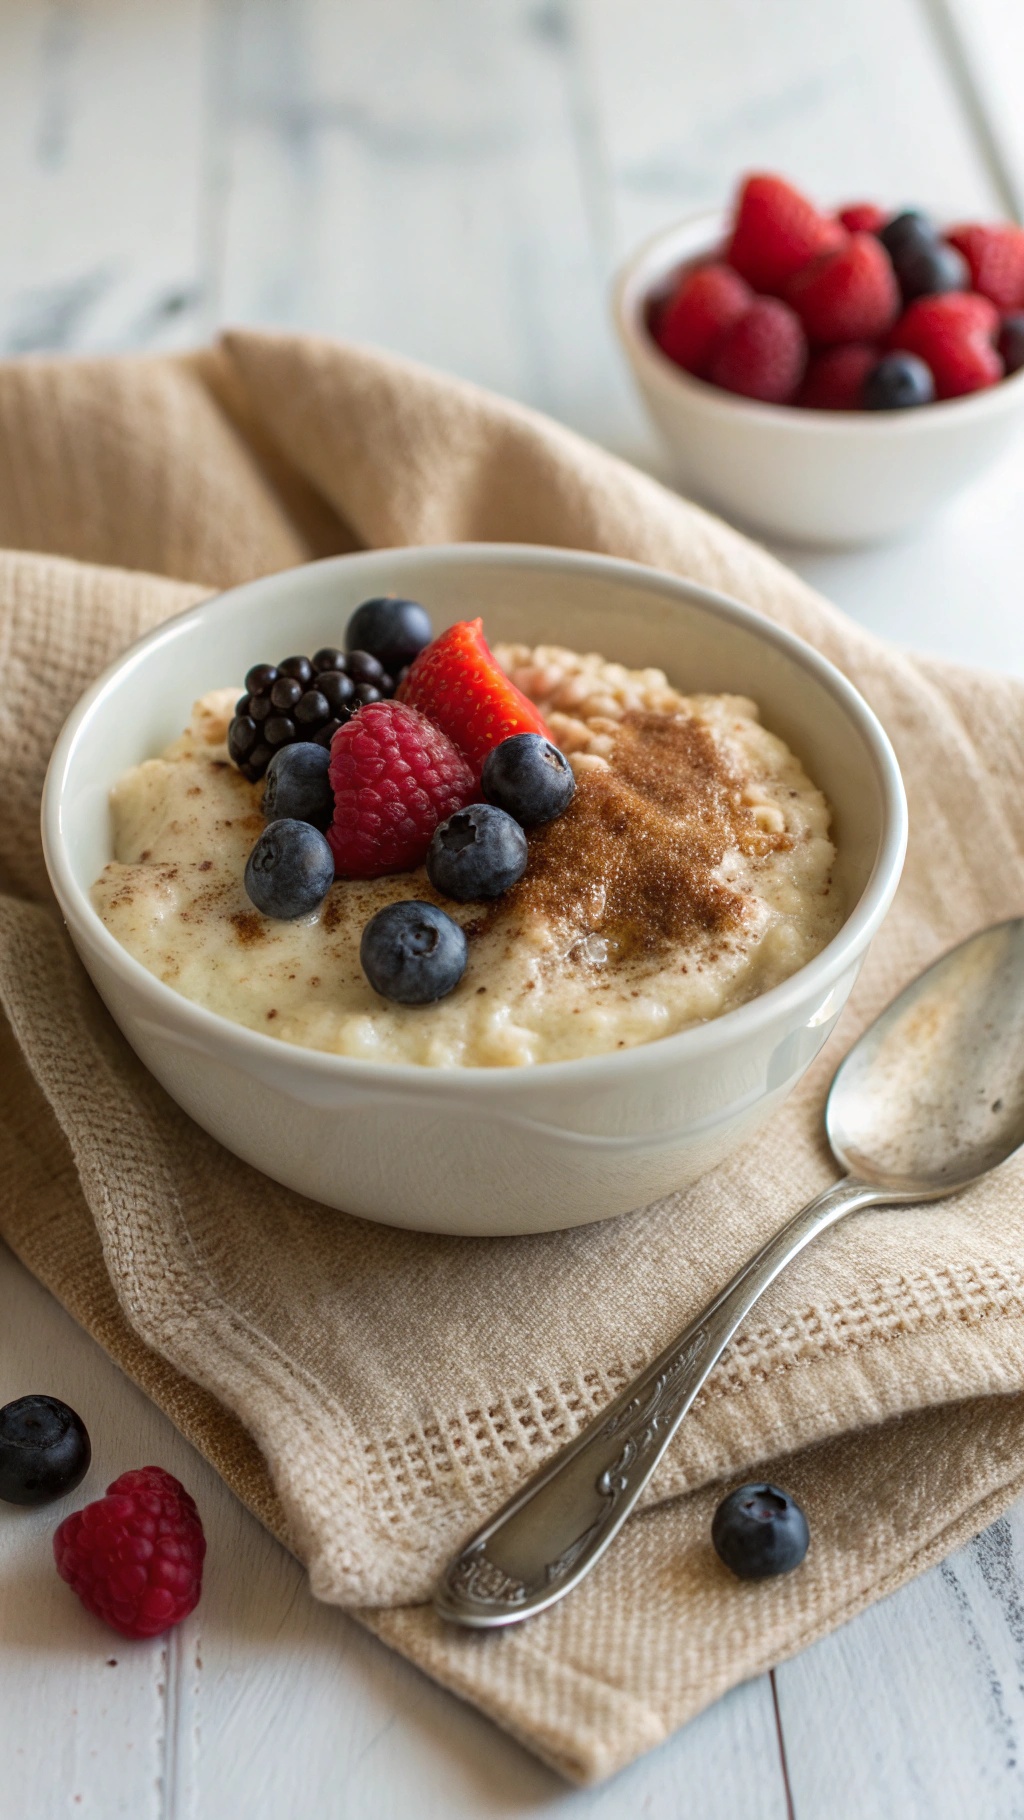
Rice pudding is a classic dessert that brings comfort and nostalgia. This quick and easy version adds a twist with fresh berries and a sprinkle of cinnamon. The creamy texture pairs perfectly with the burst of flavor from the fruits. It’s a delightful treat for busy nights when you want something sweet without spending hours in the kitchen.
The image shows a bowl of rice pudding topped with vibrant berries like blueberries, raspberries, and strawberries. The warm pudding is sprinkled with cinnamon, making it look inviting and delicious. A simple spoon rests beside the bowl, ready for a tasty bite. This dessert not only looks appealing but is also gluten-free, making it a great option for everyone.
Making this rice pudding is a breeze. With just three ingredients, you can whip up a delightful dessert in no time. Perfect for those evenings when you want something quick yet satisfying!
Ingredients
- 1 cup cooked rice
- 2 cups milk (dairy or non-dairy)
- 1/4 cup sugar
- 1 teaspoon vanilla extract
- 1/2 teaspoon ground cinnamon
- Fresh berries for topping
Instructions
- Combine the cooked rice, milk, sugar, and vanilla in a saucepan over medium heat.
- Stir occasionally until the mixture thickens, about 10-15 minutes.
- Once thickened, remove from heat and stir in the ground cinnamon.
- Serve warm in bowls and top with fresh berries.
- Enjoy your quick and easy rice pudding!
Nutty Date Energy Balls For A Quick Snack
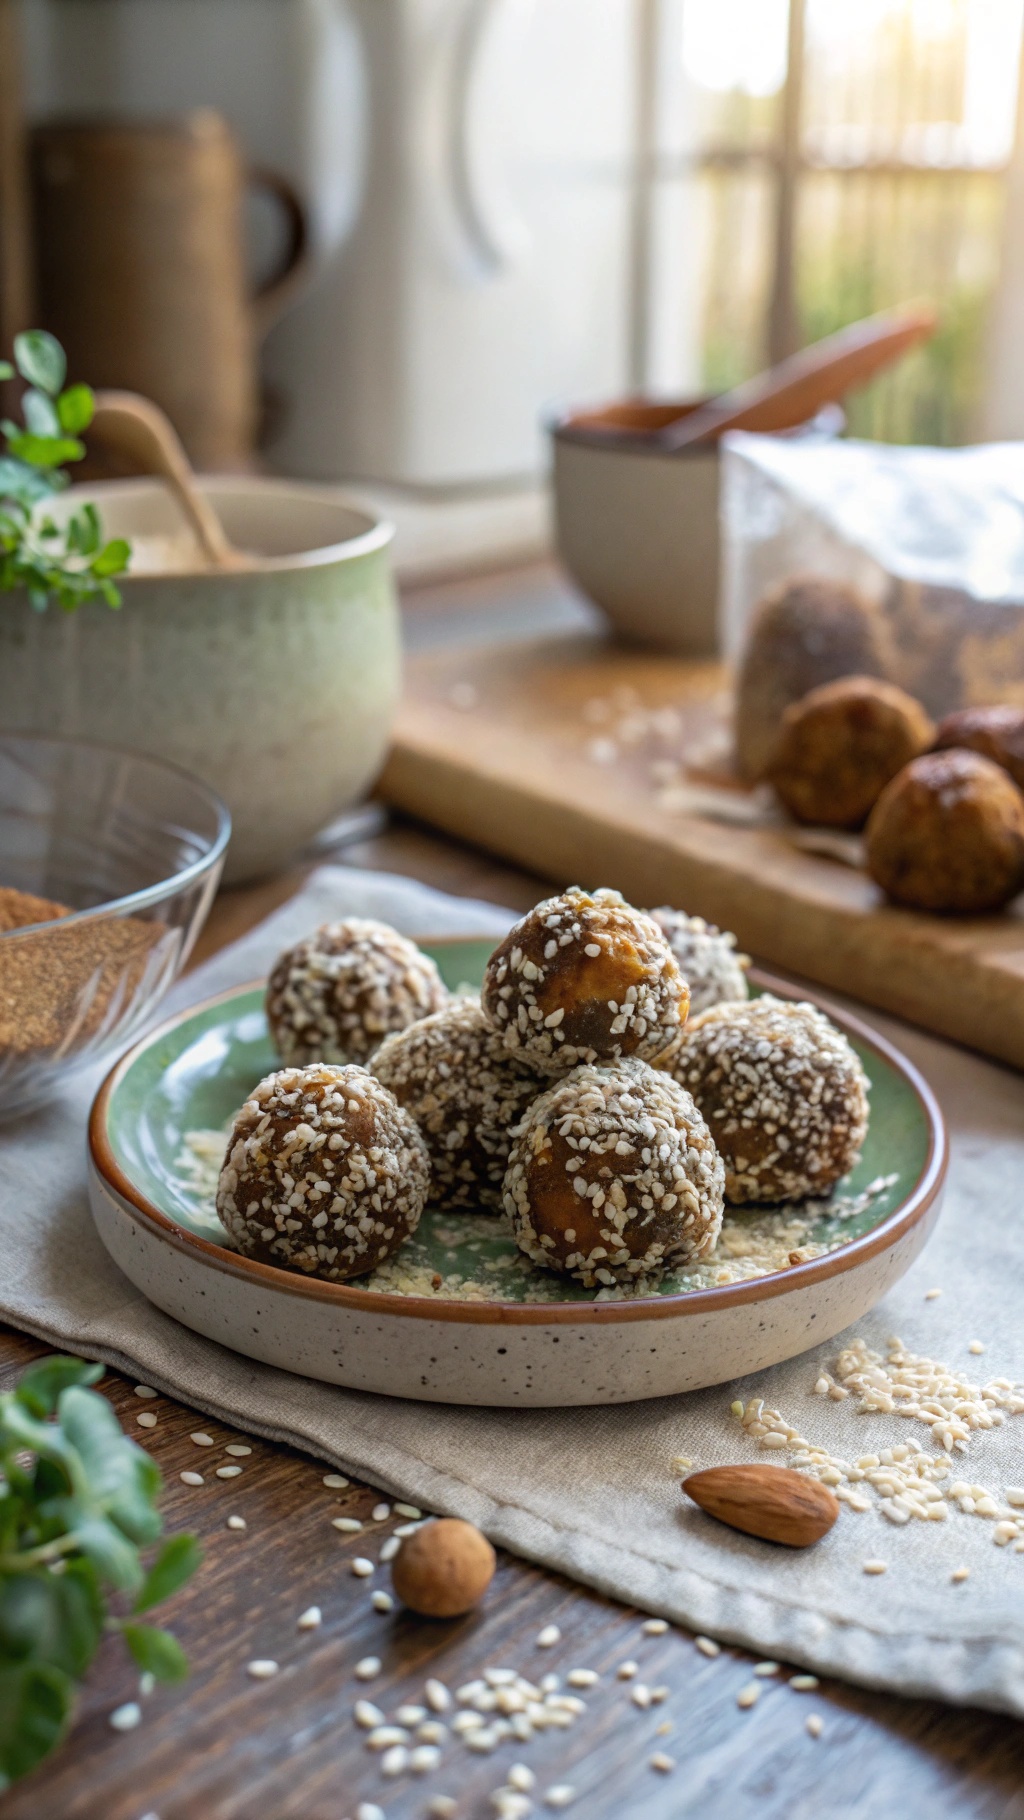
These Nutty Date Energy Balls are the perfect quick snack for busy nights. They’re simple to make and packed with flavor. Just look at that plate full of energy balls! The sesame seeds on the outside add a delightful crunch, while the dates provide natural sweetness. These little bites are not only gluten-free but also a great source of energy.
Making these energy balls is a breeze. You only need three ingredients: dates, nuts, and a bit of sesame seeds for rolling. They’re great for a quick pick-me-up during the day or as a post-workout snack. Plus, they’re easy to customize. You can swap in your favorite nuts or add some cocoa powder for a chocolatey twist!
Ingredients
- 1 cup pitted dates
- 1/2 cup mixed nuts (like almonds and walnuts)
- 1/4 cup sesame seeds
Instructions
- Blend the Dates: In a food processor, combine the pitted dates and mixed nuts. Pulse until the mixture is sticky and well combined.
- Form the Balls: Take small portions of the mixture and roll them into balls. Aim for about 1 inch in diameter.
- Coat with Sesame Seeds: Roll each ball in sesame seeds until fully coated.
- Chill and Serve: Place the energy balls in the fridge for about 30 minutes to firm up. Enjoy your delicious, healthy snack!
Creamy Yogurt Parfait With Seasonal Fruits
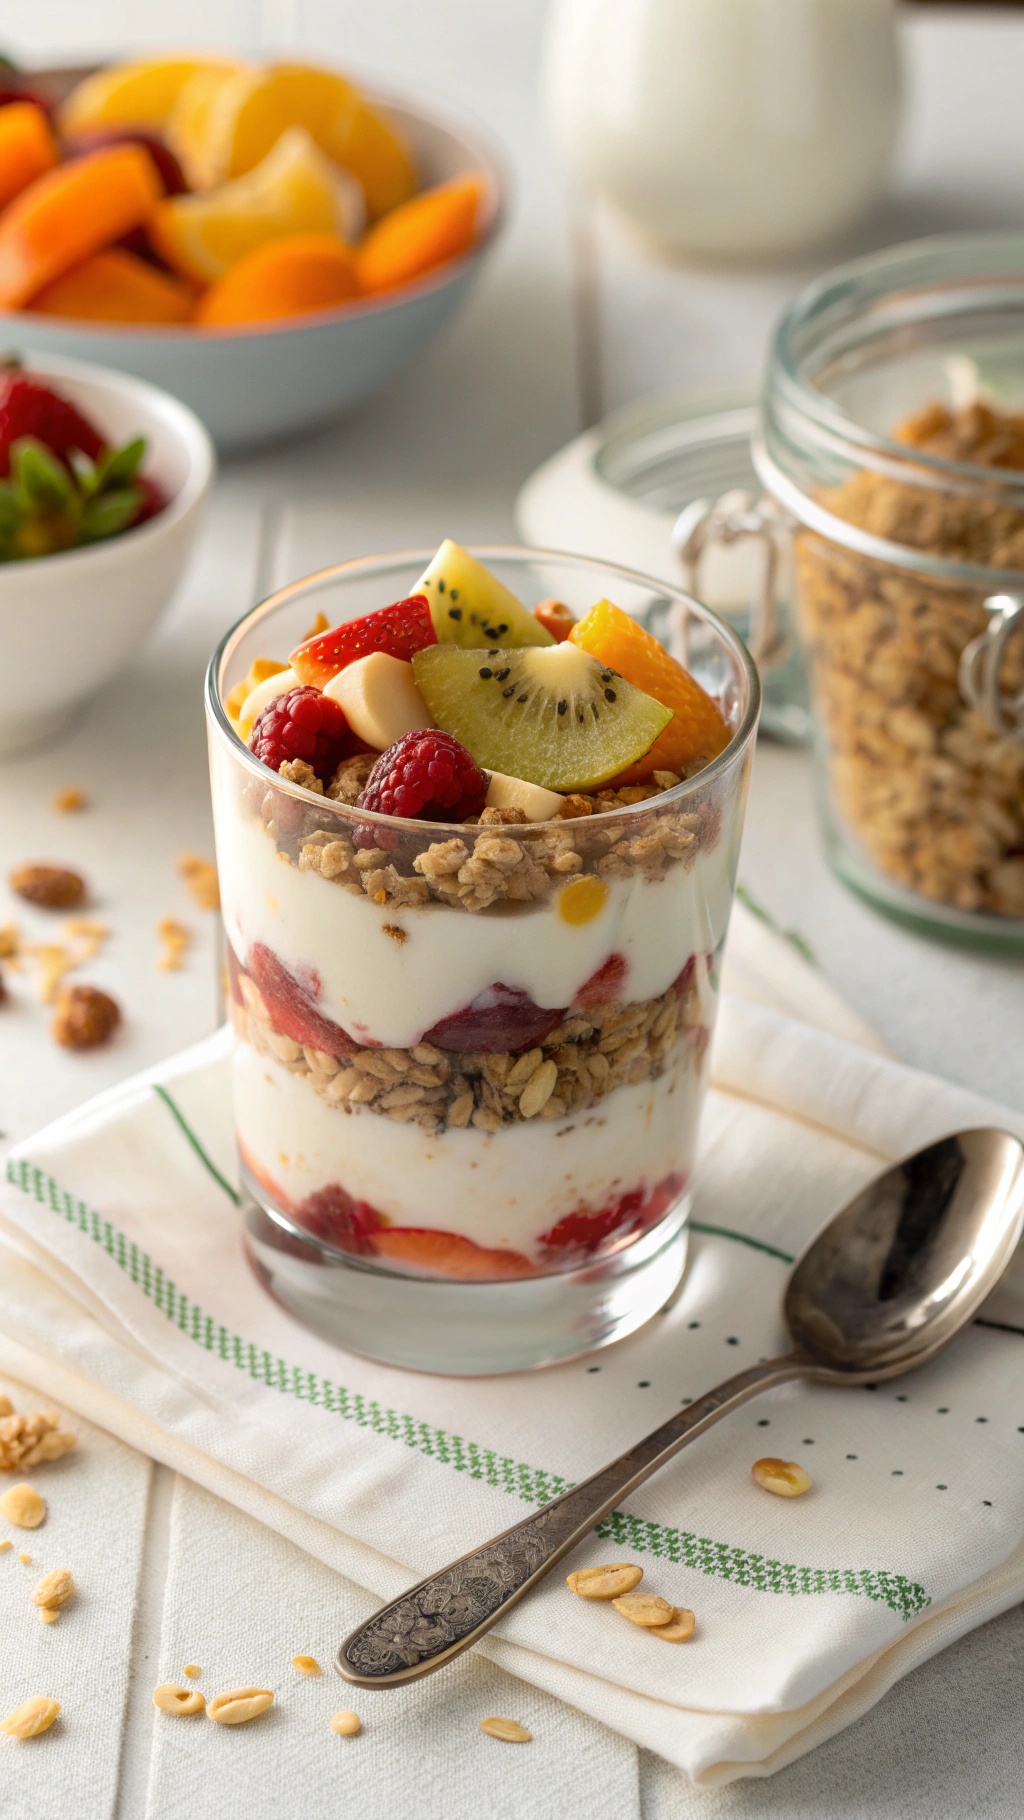
This creamy yogurt parfait is a delightful treat that combines layers of smooth yogurt, crunchy granola, and fresh seasonal fruits. It's perfect for busy nights when you want something quick yet satisfying. The vibrant colors of the fruits make it visually appealing, while the textures of the yogurt and granola create a delightful eating experience.
To make this parfait, you can use any seasonal fruits you have on hand. Strawberries, kiwis, and oranges work wonderfully together, but feel free to mix and match based on your preferences. This dessert is not only gluten-free but also packed with nutrients, making it a guilt-free indulgence.
Here’s how to whip up this easy dessert:
Ingredients
- 2 cups plain Greek yogurt
- 1 cup granola (gluten-free)
- 2 cups mixed seasonal fruits (like strawberries, kiwis, and oranges)
Instructions
- In a glass or bowl, start by adding a layer of Greek yogurt at the bottom.
- Add a layer of granola on top of the yogurt.
- Next, layer your choice of mixed seasonal fruits.
- Repeat the layers until you reach the top of the glass.
- Finish with a sprinkle of granola and a few extra pieces of fruit for garnish.
- Serve immediately or chill for a bit before enjoying!
Quick Caramel Apples For A Fun Dessert
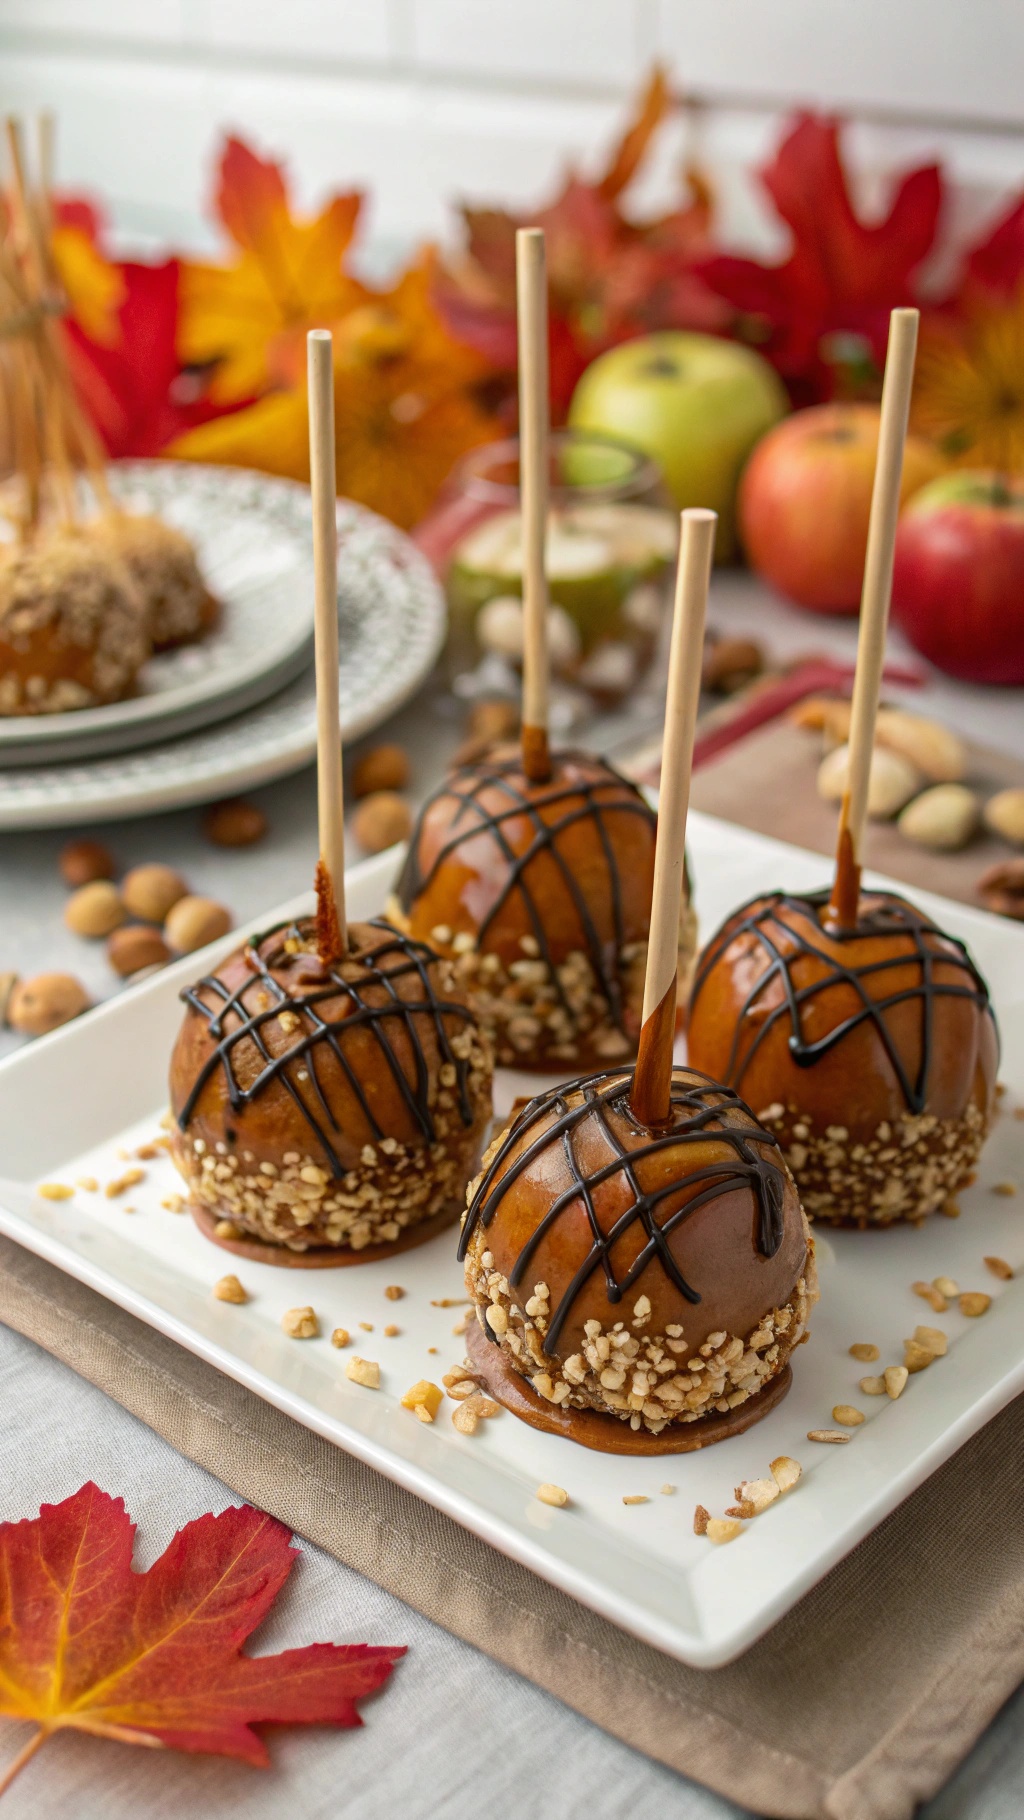
Caramel apples are a classic treat that brings a smile to everyone's face. They’re perfect for busy nights when you want something sweet without spending hours in the kitchen. Just imagine biting into a crisp apple coated in rich caramel, with a sprinkle of nuts and a drizzle of chocolate on top. It’s a delightful combination that’s hard to resist!
This recipe is super simple and requires only three ingredients. You can customize it with your favorite toppings, making it a fun activity for the whole family. Plus, it’s gluten-free, so everyone can enjoy these tasty treats!
Ingredients
- 4 medium-sized apples
- 1 cup caramel candies
- 1/4 cup chopped nuts (like peanuts or almonds)
Instructions
- Prepare the Apples: Wash and dry the apples thoroughly. Insert a wooden stick into the top of each apple.
- Melt the Caramel: In a microwave-safe bowl, heat the caramel candies in 30-second intervals, stirring in between, until completely melted.
- Coat the Apples: Dip each apple into the melted caramel, allowing any excess to drip off. Roll the bottom in chopped nuts for added crunch.
- Set and Serve: Place the coated apples on a parchment-lined tray. Let them cool until the caramel hardens. Enjoy your delicious caramel apples!
Quick And Easy Chocolate Bark For A Sweet Crunch
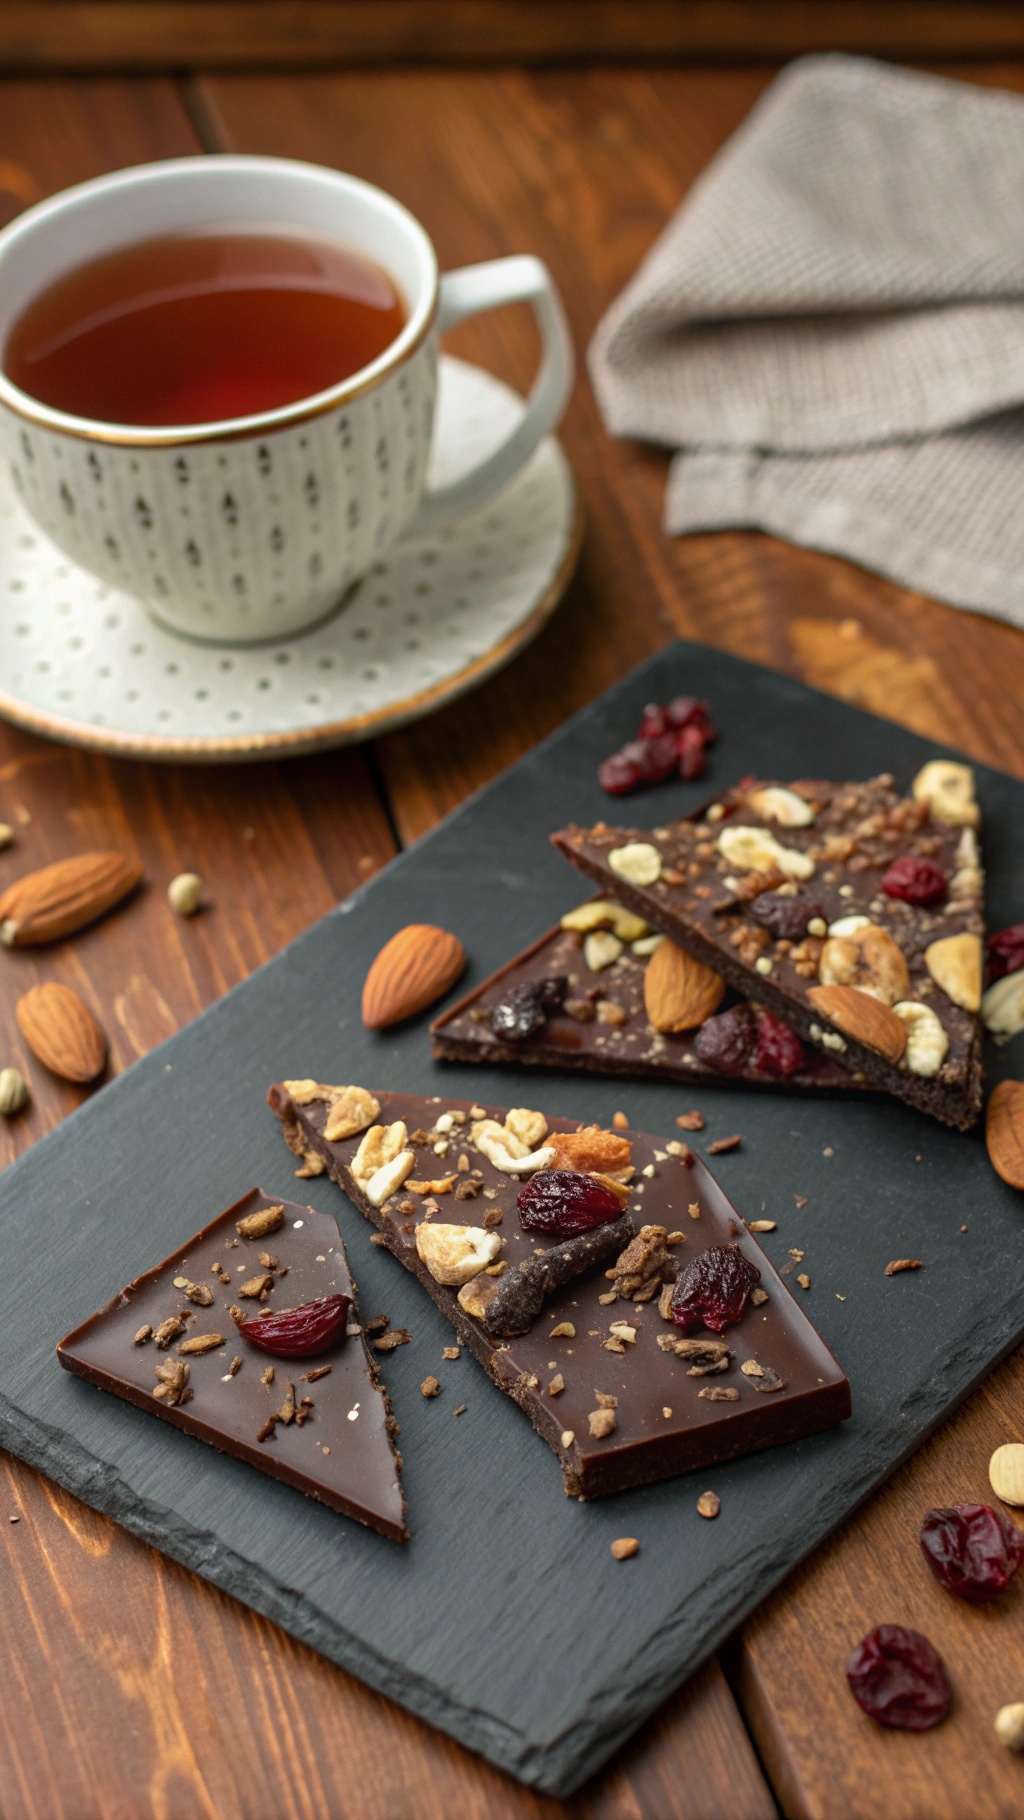
Chocolate bark is a delightful treat that comes together in no time. This recipe is perfect for busy nights when you want something sweet without spending hours in the kitchen. The image showcases a beautiful display of chocolate bark, topped with crunchy nuts and dried fruits, making it not only tasty but also visually appealing.
The combination of rich chocolate with the crunch of almonds and the chewiness of cranberries creates a satisfying snack. Plus, it’s gluten-free, so everyone can enjoy it. You can easily customize the toppings based on your preferences or what you have on hand.
Making chocolate bark is as simple as melting chocolate, spreading it out, and adding your favorite toppings. Once it cools, you can break it into pieces and enjoy a sweet crunch that pairs perfectly with a cup of tea.
Ingredients
- 2 cups dark chocolate chips
- 1/2 cup chopped nuts (like almonds or walnuts)
- 1/2 cup dried fruit (like cranberries or apricots)
Instructions
- Prepare the Baking Sheet: Line a baking sheet with parchment paper.
- Melting the Chocolate: In a microwave-safe bowl, melt the dark chocolate chips in 30-second intervals, stirring in between until smooth.
- Spread the Chocolate: Pour the melted chocolate onto the prepared baking sheet and spread it out evenly with a spatula.
- Add Toppings: Sprinkle the chopped nuts and dried fruit over the melted chocolate, pressing them in gently.
- Chill: Place the baking sheet in the refrigerator for about 30 minutes or until the chocolate is firm.
- Break into Pieces: Once set, remove the chocolate bark from the parchment paper and break it into pieces.
- Serve: Enjoy your homemade chocolate bark with a cup of tea or as a quick snack!
Delightful Strawberry Shortcake Cups For A Light Dessert

These Strawberry Shortcake Cups are a perfect treat for busy nights. They are light, refreshing, and oh-so-easy to whip up. Imagine layers of sweet strawberries, creamy whipped topping, and crunchy cookies all in one cup. It’s a delightful way to satisfy your sweet tooth without spending hours in the kitchen.
The image shows a beautiful arrangement of these shortcake cups, each topped with a cookie for that extra crunch. The vibrant red strawberries peek through the layers, making them visually appealing. These cups are not only tasty but also fun to serve at gatherings or enjoy after a long day.
Making these cups is a breeze. You only need three simple ingredients: fresh strawberries, whipped cream, and gluten-free cookies. Just layer them in cups, and you’re ready to enjoy a delicious dessert!
Ingredients
- 2 cups fresh strawberries, sliced
- 1 cup whipped cream (store-bought or homemade)
- 1 cup gluten-free cookies, crushed
Instructions
- Prepare the Strawberries: Wash and slice the strawberries. Set aside.
- Layer the Cups: In clear cups, add a layer of sliced strawberries at the bottom.
- Add Whipped Cream: Spoon a layer of whipped cream over the strawberries.
- Sprinkle Cookies: Add a layer of crushed gluten-free cookies on top of the whipped cream.
- Repeat Layers: Continue layering until the cups are filled, finishing with whipped cream on top.
- Garnish: Top with a whole cookie or a slice of strawberry for decoration.
- Chill: Refrigerate for about 30 minutes before serving to let the flavors meld.


Comments
Post a Comment